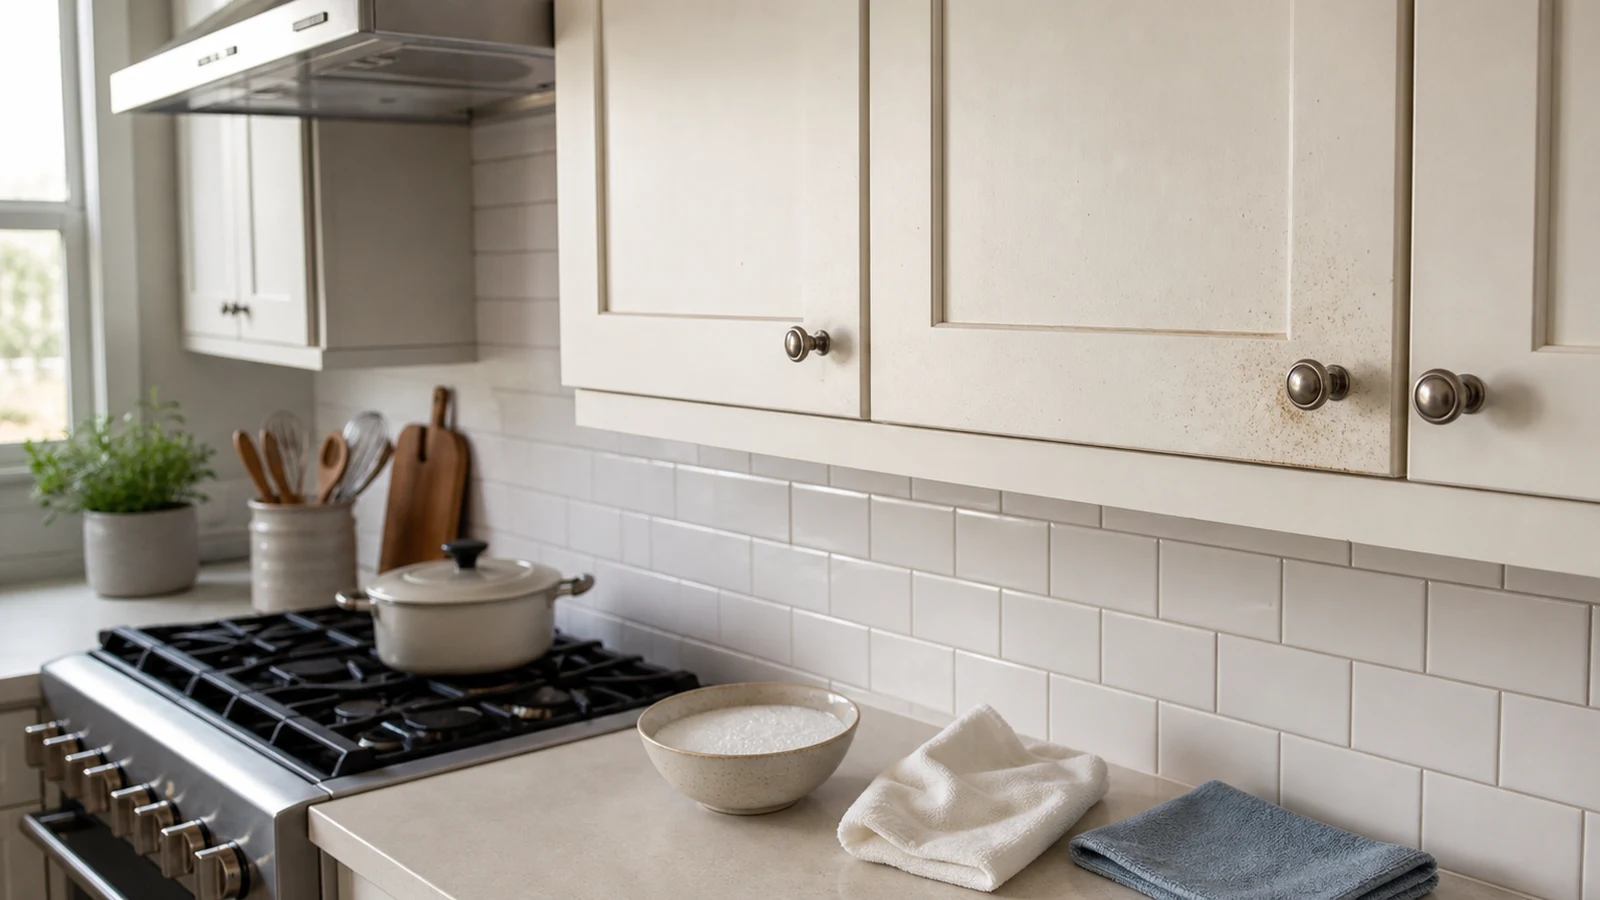
Grease on a cabinet door rarely stays as one obvious splatter. It catches dust, spreads around handles, and slowly becomes a dull, sticky film. The tempting response is to reach for the strongest degreaser in the cupboard.
That can trade a cleaning problem for a finish problem.
Cabinet makers generally recommend a much quieter method: identify the surface, start with warm water, add a small amount of mild dishwashing liquid only when water is not enough, rinse away the cleaner, and dry the cabinet promptly. Stop if the color, gloss, or texture changes.
The short answer
First, check whether the cabinet is painted, stained and clear-coated, laminate, thermofoil, high gloss, or unfinished. Look for the original order paperwork, a label inside a cabinet, or care instructions from the manufacturer. If you cannot identify the surface, test only a hidden area and keep the method gentle.
For ordinary finished cabinets:
- Dust or wipe away loose crumbs with a clean, soft cloth.
- Dampen a fresh cloth with warm water. Do not soak it.
- Wipe a small hidden test area, then dry it immediately.
- If greasy residue remains and the finish is unchanged, use the cabinet maker’s approved mild dishwashing-liquid solution.
- Wipe again with a separate cloth dampened with clean water.
- Dry the door, edges, seams, and hardware area with a clean cloth.
MasterBrand’s current cabinet-care instructions specify a solution of 5% mild dishwashing liquid and 95% fresh warm water for dirt and grease. The company says not to use dishwasher detergent. It also tells owners to dry stained and painted cabinets with a soft cloth and use microfiber on laminate and high-gloss materials.
That is a useful starting point, not permission to use the same mixture on every cabinet ever made. The instructions supplied with your cabinets take priority.
Cabinet makers do not all specify the same second step. KraftMaid’s finished-wood guidance starts with a damp cloth and thorough drying, then permits warm water with a non-detergent, non-abrasive emulsion cleaner for residue. That difference is another reason to follow the instructions for your exact cabinets rather than treating one cleaner as universal.
Identify the finish before choosing a cleaner
Two white cabinet doors can have very different surfaces. One may be painted hardwood or MDF. Another may be thermofoil wrapped over a manufactured-wood core. A wood-grain door may have a clear finish, a printed laminate, or no protective finish at all.
Painted cabinets
Painted cabinet finishes can change sheen, soften, discolor, or wear through when scrubbed with an abrasive tool or exposed to a cleaner the coating does not tolerate. A mark that looks like grease may also be damaged paint.
Start with the maker’s mildest approved method. Test behind a door or near the hinge, where a small change will not be conspicuous. Use little pressure and inspect the dry result before moving to the front of the cabinet.
Showplace Cabinetry gives the same basic care method for its painted and stained finishes: a soft, lint-free cloth, mild soap or detergent with warm water when needed, and immediate drying. It also says a new factory finish needs about 30 days to reach full performance, so recently installed or refinished cabinetry deserves extra caution.
Stained or clear-coated wood
The cleaning target is the protective finish over the wood, not the wood species underneath it. Keep moisture out of joints and damaged areas. Wipe the surface with a clean, soft cloth, remove any soap residue, and dry it rather than leaving water to sit.
Do not assume that furniture polish, oil, or wax is helpful. MasterBrand advises against waxes and polishes because repeated use can build a hazy, streaked, or yellowed layer on the cabinet.
Laminate, thermofoil, acrylic, and high-gloss fronts
These fronts may tolerate gentle wiping well, but seams, edges, and glossy surfaces need care. Do not flood a door or let liquid collect along an edge. Use the exact care instructions for the door material.
MasterBrand specifically calls for a microfiber cloth on laminate and high-gloss cabinetry and warns that paper towels can scratch high-gloss surfaces. The company also says not to clean laminate or high-gloss material in direct sunlight.
Unfinished, refinished, damaged, or unknown surfaces
Pause before using the general method. An unfinished or partially stripped surface does not have the same protective layer as a factory-finished cabinet. A refinished door may use a coating with different cleaner restrictions. Cracks, lifting edges, peeling material, worn paint, or exposed fiberboard give water and cleaner a path below the surface.
CabinetDoors.com describes unfinished wood doors as completely unprotected and recommends prompt sealing and finishing. Its guidance does not provide a grease-cleaning method for bare wood, so this article does not extend the finished-cabinet method to an unfinished door.
Ask the cabinet maker, refinisher, or finish manufacturer what the surface can tolerate. Cleaning cannot restore a coating that has already failed.
Check whether you are seeing grease or finish damage
Grease usually feels tacky and may collect most heavily around pulls, above the stove, or near a frequently used door edge. It often transfers a little residue to a damp cloth.
Finish damage behaves differently. The area may stay dull after the residue is gone. Color may come off on the cloth. A high-gloss surface may show fine scratches. Paint may feel soft, rough, or raised. Thermofoil may lift at an edge. Clear finish may look cloudy or worn through.
Do not keep scrubbing because the spot is still visible. Clean one small area, rinse it, dry it, and compare it under normal light. If the remaining mark is not tacky and no longer transfers to the cloth, more pressure may be attacking the finish rather than removing grease.
Build a small cleaning kit
You do not need a row of specialized sprays for the first pass. Gather:
- two or three clean, soft cotton cloths;
- a clean microfiber cloth for laminate or high-gloss fronts;
- fresh warm water in a small bowl;
- a second bowl or a frequently refreshed cloth for the rinse pass;
- mild hand dishwashing liquid, but only when the cabinet instructions allow it; and
- a dry, clean cloth reserved for the final pass.
Use fresh cloths rather than the sponge or dishcloth beside the sink. MasterBrand warns that used sponges and dishcloths may carry food, oil, particles, or remnants of stronger cleaners that can scratch or contaminate a cabinet finish.
Keep the bowl on the counter. Do not carry a dripping cloth across an open cabinet or set wet supplies on a shelf edge.
A finish-first cleaning sequence
1. Make the area safe to inspect
Turn off nearby cooking equipment and let the surface cool. Move food, utensils, and countertop appliances away from the work area. Use a stable step stool if the cabinet is above comfortable reach; do not lean across a hot or cluttered stove.
Look closely at the door before adding water. Note scratches, lifting edges, worn paint, and changes in gloss so you do not mistake existing damage for a cleaning result.
2. Remove loose material
Use a clean, dry, soft cloth to pick up dust and crumbs. Do not grind particles into the finish. Pay attention to the top edge of a door and the narrow area around the pull, where dust and grease often meet.
3. Run a hidden warm-water test
Dampen a clean cloth with warm water and wring it out thoroughly. The cloth should not drip when held over the bowl.
Wipe a small hidden section gently. Use a separate dry cloth immediately. Wait until the area is fully dry, then inspect the color, sheen, and texture.
If the finish changes, stop and consult the manufacturer or a finish professional. If the finish stays stable and the residue has lifted, continue with warm water alone.
4. Add mild dishwashing liquid only when needed
If warm water leaves a greasy film, check the cabinet instructions. MasterBrand’s current guidance uses 5% mild dishwashing liquid in 95% fresh warm water. Mix only a small, fresh batch and keep it away from children and pets.
Apply the solution to the cloth, not directly to the cabinet. Work on a small section. Let the damp cloth and repeated light passes do the work instead of aggressive pressure.
Do not substitute automatic-dishwasher detergent. Do not add bleach, ammonia, solvent, scouring powder, or a multipurpose degreaser unless the cabinet manufacturer specifically approves the exact product for that finish.
5. Rinse the small section
A cleaner that loosened grease should not be allowed to dry as a new film. Wipe the section with a different cloth dampened in clean warm water. Refresh the rinse water or cloth as it becomes cloudy or oily.
Keep liquid away from open seams, damaged edges, hinge holes, and exposed core material. Do not spray a cabinet face and let the cleaner run into the door construction.
6. Dry the surface and every edge
Dry the cleaned section immediately. Check the bottom edge, panel corners, hardware area, and any decorative grooves where moisture can hide.
Use a clean soft cloth on stained or painted cabinets. Use clean microfiber on laminate or high-gloss fronts when that matches the manufacturer’s instructions.
7. Recheck in normal light
Cleaning can look successful while the cabinet is wet. Inspect it again after it dries. Stop if you see a new dull patch, color transfer, a changed sheen, swelling, lifting, or roughness.
If the finish looks normal but a heavy layer remains, repeat the approved gentle sequence on another day rather than escalating immediately. Long-standing grease may have discolored or damaged the finish; MasterBrand warns that prolonged exposure to grease, oil, food, water, and other liquids can cause permanent damage or discoloration.
What to avoid unless your cabinet maker says otherwise
MasterBrand’s care instructions advise avoiding abrasive and strong cleaning products, including scouring powders, scouring pads, steel wool, ammonia, bleach, mineral spirits, nail-polish remover, paint thinner, and silicone-based cleaning or polishing products. The company also warns against tub and sink cleaners, harsh detergents, strong soaps, and general multipurpose cleaners.
That list matters because a product can be effective against grease and still be wrong for a cabinet coating.
Also avoid these cleaning habits:
- spraying cleaner directly onto a door;
- leaving a wet towel hanging over a cabinet front;
- using a used kitchen sponge with unknown residue;
- scraping around a handle with a blade or hard tool;
- scrubbing one visible spot until its sheen differs from the rest of the door;
- applying wax or polish to hide a dull patch; and
- mixing methods before the first cleaner has been rinsed away.
Handle stubborn areas without flooding the door
The area immediately around a knob or pull can be difficult because fingers repeatedly deposit oil there. If the hardware can be removed safely and reinstalled without damaging the door, the cabinet instructions may provide a method. Otherwise, wrap a barely damp soft cloth around a fingertip and clean the narrow edge without letting liquid enter the hardware hole.
Decorative grooves need the same restraint. Use the corner of a soft cloth rather than a stiff brush. Follow with a clean damp rinse cloth, then dry the groove.
For the top edge of a door, support the cloth so water does not run over the back. Clean and dry one short section at a time.
Reduce the next buildup
The simplest grease layer to remove is a fresh splatter.
Wipe cooking splashes promptly with the maker-approved method. Run the range hood as directed while cooking, and maintain its filters according to the appliance manual. Keep damp dish towels off cabinet doors. Dry cabinet surfaces after cleaning rather than letting them air-dry with water at the seams.
A brief weekly check around the stove and frequently handled pulls is easier on the finish than an occasional hard scrub. It also makes changes in paint, edges, or hardware easier to notice before a large area is affected.
When to stop and ask for help
Stop cleaning and contact the cabinet maker, dealer, refinisher, or a finish-repair professional when:
- paint or stain transfers to the cloth;
- the surface becomes sticky, soft, cloudy, or rough;
- gloss changes after the test area dries;
- thermofoil or laminate lifts at an edge;
- wood or fiberboard is exposed;
- a seam swells;
- a dark or pale mark remains after the removable film is gone; or
- you cannot identify the finish.
A cleaner can remove residue. It cannot replace missing paint, reattach a lifting wrap, or rebuild a moisture-damaged edge.
Frequently asked questions
Can I use vinegar on greasy kitchen cabinets?
Do not treat vinegar as a universal cabinet cleaner. MasterBrand’s published method starts with warm water, then a mild hand-dishwashing-liquid solution when needed, and its avoidance list includes strong or multipurpose cleaning products. Use vinegar only if the instructions for your exact cabinet finish expressly allow it.
Can I use baking soda to scrub cabinet doors?
Skip an abrasive paste unless the cabinet manufacturer specifically approves it. Scouring powders and abrasive pads appear on MasterBrand’s products-to-avoid list. Even a fine abrasive can change the sheen of paint, laminate, or a clear finish before the damage is obvious.
Is a commercial kitchen degreaser safe on cabinets?
The word “degreaser” describes what the product is meant to remove, not every surface it can touch. Compare the product label with the cabinet maker’s care instructions. If either source excludes the finish or does not provide enough compatibility information, do not use it on the door.
Should I clean cabinets with a sponge or paper towel?
Use the cloth type specified by the cabinet maker. MasterBrand recommends a soft lint-free cloth for ordinary finished cabinetry and microfiber for laminate and high-gloss fronts. It warns that used sponges and dishcloths may hold scratching particles or cleaner residue, and that paper towels can scratch high-gloss cabinetry.
Why does the cabinet still look dull after the grease is gone?
The residue may have discolored the finish, the finish may already be worn, or previous cleaning and polishing products may have left a film. Do not keep scrubbing a dry, non-tacky patch. Ask the cabinet maker or a finish professional to identify whether the surface needs cleaning, touch-up, or repair.
Can I use the same method on the cabinet interior?
Not automatically. Interior panels, edge banding, shelf liners, and exterior doors may use different materials. Check the instructions for the cabinet box and shelves, keep water away from seams and exposed edges, and use the same hidden-test discipline.
Our research approach
This guide follows the validated Well Walked Finds brief for a finish-first cabinet-cleaning method. We compared current cabinet-maker care instructions with the practical constraints of painted, stained, laminate, high-gloss, unfinished, damaged, and unknown surfaces.
We did not physically test cleaners or cabinet finishes. This is not a hands-on product test. Manufacturer instructions can change, and refinished cabinets may not follow the factory guidance for the original door. Check the current instructions for your exact cabinets before cleaning a large area.
Sources
- MasterBrand Cabinets: The Homeowner’s Guide to Care and Cleaning
- Diamond Cabinetry: Cleaning Your Cabinetry
- Thomasville Cabinetry: Tips for Caring and Cleaning Your Cabinets
- KraftMaid: Dos and Don’ts of Kitchen Cabinet Cleaning and Care
- Showplace Cabinetry: How Do I Care for My Stained or Painted Cabinets?
- CabinetDoors.com: Preventing Damage to Unfinished Cabinet Doors Before Finishing
Related guidance
Continue with the Well Walked Finds Cleaning Solutions hub. For the appliance above the cooktop, use the filter-type-first range hood guide before deciding to wash or replace the filter. If cabinet clutter is making the area harder to maintain, start with our guide to organizing under a sink without fighting the pipes. For the cooking side of the kitchen, see how to choose a vegetable-prep tool by batch size and cleanup time.